In this episode, Jessie Henderson from Salt Chamber, Inc. explains how lighting shapes the look of a Himalayan salt brick wall. She covers LED quality and color temperature, spacing behind the bricks, electrical access, replacement planning, and installation choices that help create an even glow.
John Maher: Welcome to the Salt Chamber Podcast. I'm John Maher. I'm here today with Jessie Henderson, Senior Salt Therapy Consultant at Salt Chamber Inc. Salt Chamber specializes in designing and building salt therapy spaces and providing halo therapy equipment, Himalayan salt decor, training, and ongoing support for spas, resorts, wellness centers, and more. Today we're talking about how to plan lighting for a Himalayan salt brick wall. Welcome, Jesse.
Jessie Henderson: Thanks, John. Excited to chat with you today.
John: Absolutely. Jesse, why is lighting such an important part of the design when building a Himalayan salt brick wall?
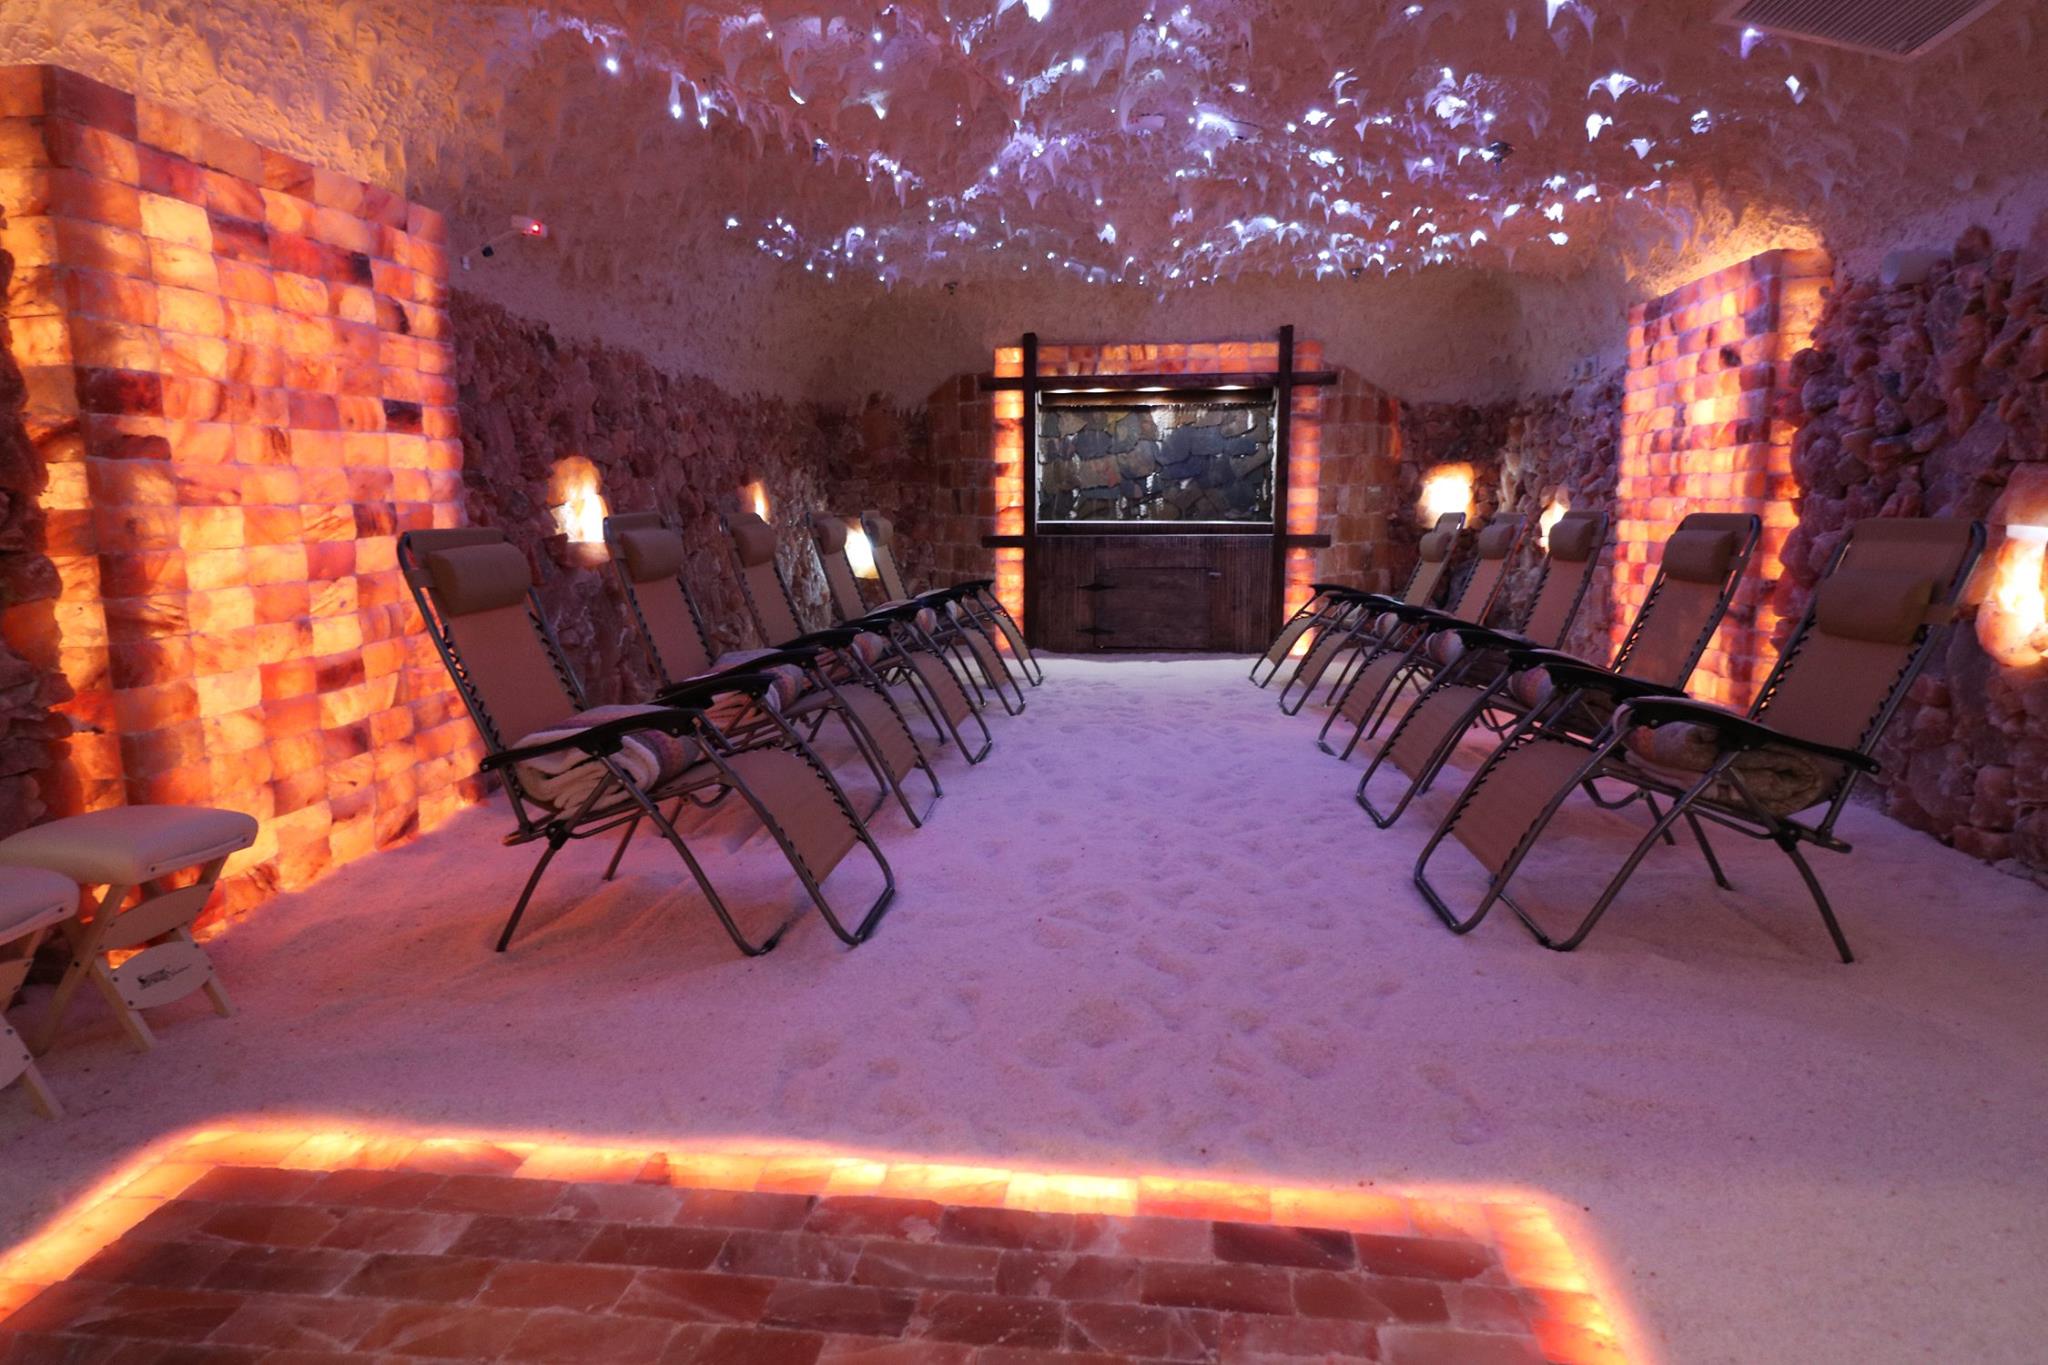
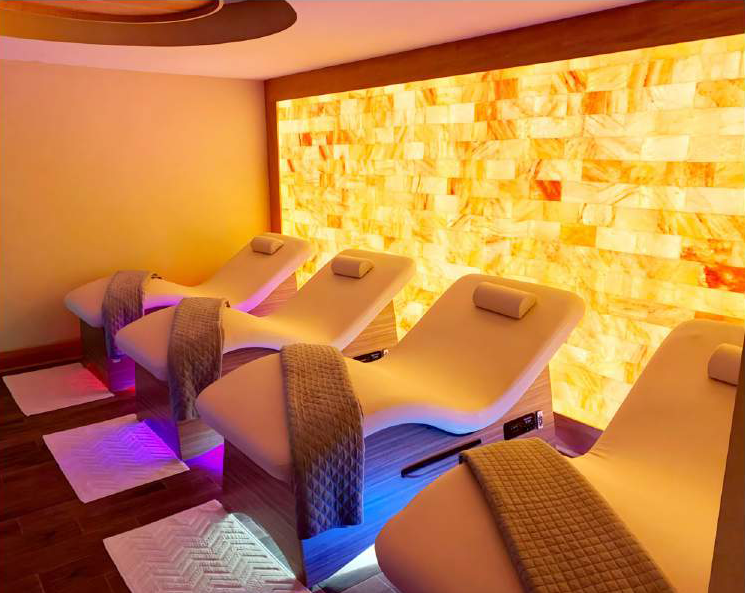
Jessie: The Himalayan salt itself is beautiful and it has a lot of striations and hues, but the lighting, the glow is everything. That's what's going to draw the clients to that space. Much like anything else, you could have a wallpaper or a smooth wall, but as soon as it's textured or there's some downlighting on it, it really draws the focal point in. So, the glow behind those bricks is what really brings out the hues and draws people to that space.
John: Right. I mean, I think most people have seen a Himalayan salt lamp where there's a light inside of the stone and you can really just see that glow. It's just kind of like this pink color and it's really amazing looking. So at spas and things like that, it just gives a certain effect, right?
Jessie: Correct. I mean, I even have one on my dining room table, and when I come home at night, I see that in my window and it's just like, "oh, I'm home". It's very relaxing, kind of re-energizing, and people can just kick back, de-stress. So I think the glow behind that rock, that stone, is really everything.
John: What type of lighting usually works best behind salt bricks and how do factors like brightness and color temperature and dimming affect the final appearance?
Jessie: We at Salt Chamber, again, have done this for a very long time. We've seen all kinds of different mistakes and mishaps with walls. We want to make sure that we're providing only the highest quality lighting. It is usually a tube LED lighting and it comes from warm to cool hues. It depends on the look and vibe you want to get behind your wall. Some more wellness centers or medical type spaces might want it to be brighter, more white, clear, cool, and some might want it really soft with those amber, peachy kind of low pink glows, and more welcoming and inviting.
So we really talk about the experience that someone's trying to create for their clientele and which way you want to go with the lighting, as well as the other lighting in the room that can take effect. Are you going to have can lighting, or no lighting and you're only using that glow from behind the wall?
So when we consider lighting, it's a very high quality, 50,000 hour life or more LED lighting. And it is also rated good for indoor/outdoor because you want to make sure it's more of a waterproof, sealed lighting and also that it does not get hot spots. So again, high quality, not just buying something from your local Target or hardware store that you saw really cheap, because this is a pretty permanent structure when you put it up.
John: How much space do you need between the Himalayan salt brick wall and the lighting and the backing structure in order to create an even glow without some obvious brighter or dark spots?
Jessie: Yeah, that's a great question. And also one of the common mistakes. People think they can just wind some light and put the bricks right on top of it. If you do that, you will create extra hotspots and they could burn out. Also, the bricks, you're going to see through the bricks, all of these rows, whatever pattern you put on the wall. So accurate spacing, what we recommend is about 3 1/2 to 4 inches. We provide spacers that hide the screws and create that depth, keeping the bricks off, minimizing any hotspots or shadowing, and really just creating that warm glow throughout the space. So with the back wall, as you mentioned, we have a proprietary process where it's a very solid substrate. We start with sheets of plywood, or right on the stud. We bring it out with these spacers and wind around the LED lights nice and taut.
So it's a beautiful, spaced out glow. And then we're gluing the bricks to the front of that. So the whole thing is about a 5 1/2 inch depth.
John: And what should architects and contractors, or even do-it-yourself installers, plan for in terms of wiring, ventilation, electrical access. And what do they need to know in terms of maybe having to replace those lights later?
Jessie: Yep. Again, very common question that we always get, "what happens if my lights go out?" So, number one, we use very high quality lights. So if anything did go out, it might be a segment, not the whole roll. So that's important. Two, these are very long hour life, so they should not be going out ever. I still have spas that I ran that still have the same LED lights going 12 years later, so that's great. But just as a precaution, you should create an access panel. I have some clients that do a crown molding and that is the access panel. They can remove that very easily and drop down a new light or splice in a new LED light.
I have some clients that choose to run two lights. This LED lighting, when you're creating a $10,000 or $15,000 wall, it's not that much to create a little bit extra to run two full rolls of LED lights back there. If one ever goes out, you simply use the backup, and you're good to go, and you never have to take any bricks down, drop any new lines or splice anything.
So there's a couple different ways we go about that, but generally you always want an access panel and you always want to make sure where your plugins are, are very easily accessible. So if you needed to, you could remove that end cap, splice in a new LED rope light and then rewind it back there.
John: What are some of the most common mistakes that you see, poor placement or insufficient coverage or maybe even choosing the wrong salt brick thickness? How can those things be avoided?
Jessie: Yeah, a lot of people think the thicker the brick, the better. It will be a heavier wall, so it could be risk of possibly coming down if you didn't use the right adhesive or attaching it to the wall, making a really solid substrate. So heavier bricks are more likely to fall, eventually. And also you don't see as much light through there. So you're going to have to have a really bright lumen LED behind that and it shouldn't be too far spaced back or you really won't have a glow. It'll just be kind of dim. We use one inch architectural grade bricks, so they're all cut very precise.
That's another big thing when you're thinking brick walls and building with the lighting. You don't want light to glow through these little cracks. So you make sure you get really nice cut, one inch thick bricks and it's less weight on the wall and easier to replace if needed.
Some people choose not to do a full border so that the corners don't glow or they're too far away. So it's really only in the center of the wall. And some people don't tack down their LED lighting. You should have it with LED light clips or wound very taut to the back wall. If you don't, you can often see these weird wavy lines behind the wall and it looks kind of sloppy.
John: Any final thoughts on lighting for Himalayan salt brick walls and the effect that it creates for customers?
Jessie: I think it's beautiful. I think everybody should do back lighting in some section of their spa, even if it's not in the salt room. It really does draw people into that space, so that's wonderful. And just making sure you're taking the precautions, and talk with an expert, talk with someone, make sure you're not just throwing it up on the wall haphazardly. We want to use all the right materials and make sure the humidity is right in that space and really just make sure that it's going to last a lifetime.
John: All right, that's great advice, Jessie. Thanks again for speaking with me today.
Jessie: Thanks. We'll talk to you soon. Have a great day.
John: And for more information about Salt Chamber, Inc. you can visit the website at saltchamberinc.com or call 561-556-3322.

Leo Tonkin, with a decade of deep expertise in salt therapy, initiated SALT Chamber, a leading entity in the domain of salt therapy products and decor. As the inaugural Chairman of the Salt Therapy Association and Chair of the Respiratory Wellness Initiative from the Global Wellness Institute, he has played a pivotal role in broadening the accessibility and recognition of salt therapy globally. His commitment to developing advanced technology and educating the public on the benefits of salt therapy has solidified his position as a key figure in the industry, enhancing its credibility and trustworthiness.